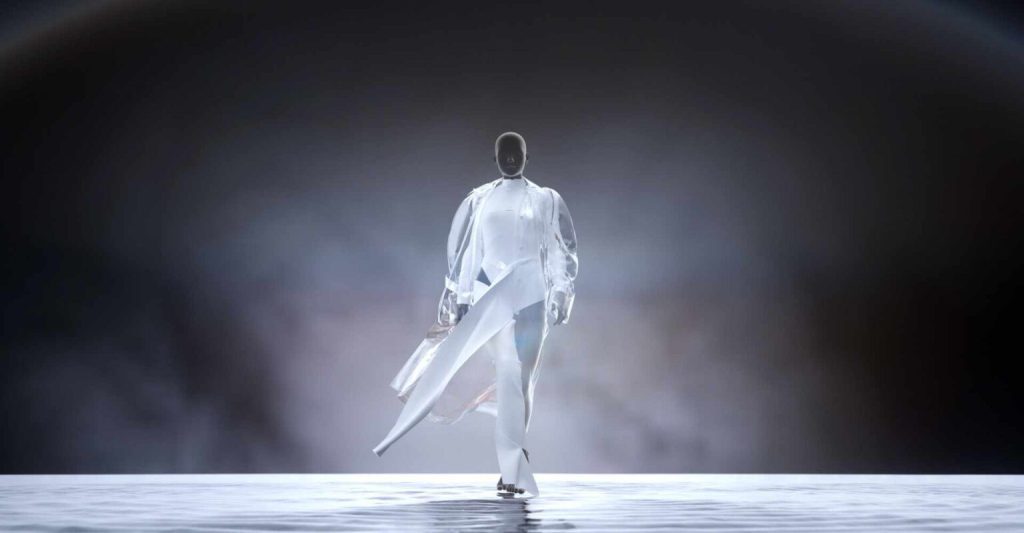
The first intervention was created in May and June. I created a specific virtual model Lois which is inspired by my classmate Lois which is the main image of my NFT project. Also, I organized the online workshop to show the specific steps about how to create NFT and invited expert for introducing the back logic of the creation of NFT towards the stakeholder-Millennials.
Some of the people who invited were given the virtual image of themselves. According to the photos uploaded by the collector, the light source and the dynamic of the skirt are adjusted to achieve a better effect of the virtual garment upper body. The reason for having this intervention is to let more Millennials understand and participant in virtual fashion with free price. Most of them were excited during this intervention and said that they have learnt a lot through the process.

Also, we produced one recorded video below that shows how the NFT was produced by designers. I played this video towards the Millennials who took part in the workshop for them to understand more about the NFT and virtual fashion.
This video is the one I corporate with the NFT experts to give Millennials their own virtual images. We believe this is a way to make them participant into the NFT and it is a free chance for them to know more about the virtual world. Many stakeholders who involved love this part of workshop and even wanna make more virtual styles for their images. https://youtube.com/shorts/Kyucs88ca3Y?feature=share
The next part is the virtual room I designed that combines the ideas from my stakeholders that I collected in qualitative research. This virtual model kindly shows the future NFT select shop.
Step 1: Ideation
The first step is to find out how to present designs. The concept can be something new or to digitize an already existing fashion catalog. The concept can either be a simple one. Like a studio or simple location. Or can be more elaborate environment, like a fashion show or an abstract environment.

the virtual design process by me
Step 2: Sketches & Texture Packs
Find all y embroidery patterns, materials, swaps, and images. Also find everything related to the size of the mannequin and the size of the body. Once have all your references, then need to make them into simple designs. Once have these digital designs, you can easily change colours, fabrics onto the design. This is why digital designs are far better than traditional hand sketches.
Step 3: Creating a Virtual Mannequin
Once have all the fabric information we next need to make the mannequin.It is critical to have the exact size measurements to create the right digital avatar for your digital clothing. The desired body can be fully replicated on a 3D avatar and adjusted within a few edits. This makes it perfect commercial usage.
